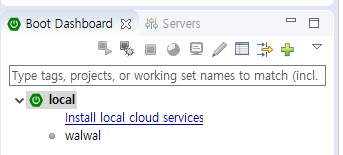
이 번 프로젝트 시작하면서 Spring Tool Suite(STS) 를 이용하게 되었다. 프로젝트를 생성하고 빌드시켜 실행해 보았는데, 어렵지 않고 편리했다.
처음 프로젝트를 생성할 때 빌드도구와 java 버전 선택을 한다. 그리고 개발에 필요한 의존성 설정을 플젝 시작부터 때려넣을 수 있었다. 물론 의존성 설정 없이 빈 값으로 프로젝트를 생성해도 상관없다.
1. Gradle을 이용한 Project를 생성해보자.
1. [File] - [New] - [Spring Starter Project]

Spring Tool Suite 4 를 깔으면 Gradle 3.x 버전이 이미 깔려있다. 2.x 는 안깔려있음.
나는 Buildship 3.x로 선택 ! Java Version 은 8, Language는 Java로 선택한다. 코틀린과 그루비도 선택이 가능하다. 둘다 할 줄 모름


Finish 로 프로젝트 생성을 해본다.
[Build.gradle] 을 열어보면 아래와같이 설정되어있다.

그냥 이대로 실행을 해 본다.
실패가 난다.
Failed to configure a DataSource (실패. 설정. 데이터소스)
***************************
APPLICATION FAILED TO START
***************************
Description:
Failed to configure a DataSource: 'url' attribute is not specified and no embedded datasource could be configured.
Reason: Failed to determine a suitable driver class
Action:
Consider the following:
If you want an embedded database (H2, HSQL or Derby), please put it on the classpath.
If you have database settings to be loaded from a particular profile you may need to activate it (no profiles are currently active).
오류 발생 이유 : 처음에 Gradle 프로젝트 생성시 DB 관련된 dependencies를 추가했는데 설정이 되어있지 않아서 그렇다.
해결 방법 :
Database 설정 추가 해야 한다.
src/main/resources/application.properties에 database 정보를 추가해준다.
추가하려는데 로컬에 DB (MySQL)를 안깔아둠. MySQL 을 빠르게 설치해본다.
로컬에 MySQL 설치하기 !
DB가 로컬에 설치가 되었다면 연결을 할 수 있다.
src/main/resources에 있는 [application.properties] 파일에 아래와같이 mysql 설정사항을 적어준다.
[application.properties]
또 오류가 난다. 아래는 오류 로그이다.
Loading class `com.mysql.jdbc.Driver'. This is deprecated. The new driver class is `com.mysql.cj.jdbc.Driver'. The driver is automatically registered via the SPI and manual loading of the driver class is generally unnecessary.
해결 방법 : com.mysql.jdbc.Driver-class-name 을 com.mysql.cj.jdbc.Driver 로 바꿔준다.
[application.properies]
변경 전: com.mysql.jdbc.Driver
변경 후: com.mysql.cj.jdbc.Driver
이제 진짜 레알 다시 실행 !!!!!!!!

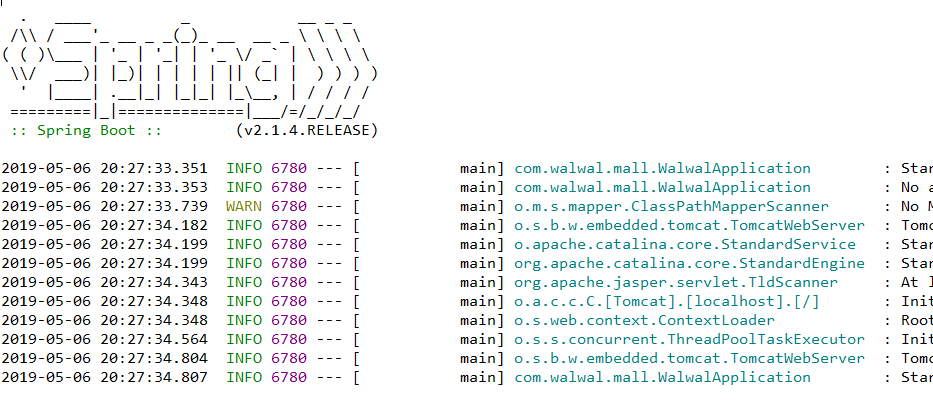
오류가 없이 제대로 실행완료 되었다.
2. JSP 와 연동하여 브라우저로 접속해보자 !
간단하게 서버에 올린 프로젝트가 잘 실행 되는지 테스트 하기 위해서 [testController.java] 파일과 [test.jsp]파일을 생성하고 간단하게 코드를 작성해본다. 브라우저에 뭔가를 띄워 봐야 제대로 성공한 느낌이 나니까..
test.jsp 위치는 아래와같이 webapp/WEB-INF/views 폴더 생성 후 JSP 를 만들어준다.
아, 물론 프로젝트는 JSP 를 이용하지 않고, 단일페이지 어플리케이션(SPA)으로 개발 할 예정이다.
사실 아직 React 랑 스프링연동하는 법 공부 안함. 아 물론 React도 공부 아직 안함.

[testController.java]
[test.jsp]
Controller 과 JSP 를 연결하기 위해 application.properties 에 설정을 추가해 준다.
prefix, suffix 설정 추가해준다.
[application.properties]
근데, 한글이 깨져버림.

[application.properties]에 설정 추가 ( 기존에 적혀있는거 아래에 추가로 적어주면 된다. )
[test.jsp] 에 아래와같이 pageEncoding 추가

+ 만약 설정을 다 잘 한거 같은데, 자꾸 페이지에 404 에러가 뜬다면 애노테이션을 잘 붙혔는지 확인해본다.
@Controller 붙히는건 잊지 않았는지.. 과연 잊을사람이 있을까 싶지만 그게바로 나다.
STS를 이용하여 Gradle 프로젝트 만들기 완성! 짝짝짝짝
다음에는 DB와 연결해서 데이터뿌리기 도전 !!
'study > java' 카테고리의 다른 글
| jsp 지시태그 (0) | 2023.07.05 |
|---|---|
| https://haenny.tistory.com/295 전자정부프레임워크 4.0 스프링 설정 정리 잘해 놨어 굿 (0) | 2023.03.27 |
| sts(spring tool suit) 에서 스프링부트+gradle+jsp 세팅 https://gamma86.tistory.com/5 (0) | 2023.03.27 |
| 타임리프 링크 쓰고이 (0) | 2023.03.27 |
| https://goddaehee.tistory.com/205 스마트하게 잘 정리된 디비연결 (0) | 2023.03.27 |

